Entrepreneurs can build an iOS app through no-code tools, source-code templates, a focused MVP, or a fully custom product team. The right budget depends on the workflow you need to validate, the backend complexity, and how much source-code ownership matters.
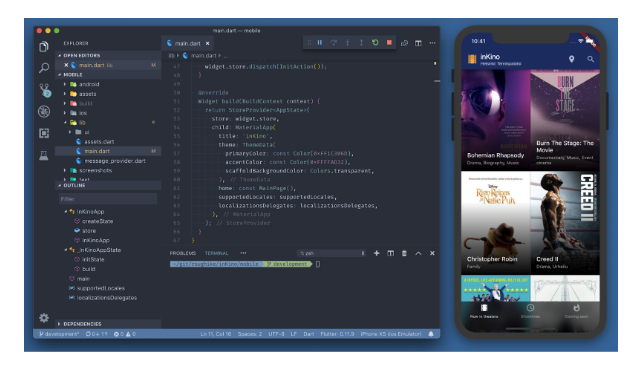
If you’re a mobile developer like me, you’ve already heard about the new toy everyone is playing with these days: Flutter – Google’s open source SDK for building native apps for iOS and Android from a single codebase. In other words, it’s Google’s competing horse against Facebook’s React Native, to say the least.
There is some good news coming out from Q3 2018: the App Store generates almost double the revenue made by Google Play. Not only it makes more money, but the App Store revenue is also growing at a higher rate than Google Play’s generated income. This discovery is extremely important since it shows where the money really is for mobile developers and tech entrepreneurs.
In this article, we curated a list of the best Kotlin starter kits that are available as of the time of this writing. Kotlin is the new cool kid in town: Google’s new programming language for coding up Android apps. It brings up a lot of value on the table, through amazing modern features such as higher order functions and lambdas, which were not supported in Java. With Kotlin, Google is shifting the paradigm towards functional programming, which can also be seen as a response to Apple adopting Swift.
Kotlin is extremely powerful and Android developers should adopt it as soon as possible. An effective way of ramping up on Kotlin is to download an existing free starter kit, to learn practically. By getting used to the Kotlin syntax and by making a few changes to existing open-source Kotlin templates, an Android developer can quickly incorporate the new language.
While working on our newly launched Dashboard iOS app template, we had to figure out how to add a padding to the placeholder of a UITextField control. It turned out there’s no native support for this design tweak, so we had to create our own subclass of UITextField.
Apple Pay and Google Pay can make mobile checkout faster, especially for
commerce, marketplace, restaurant, delivery, booking, and service apps. Old
React Native tutorials often mention Android Pay or abandoned Payment Request
wrappers. For current production work, use the maintained payment SDK for your
provider and keep privileged payment logic on your backend.
This guide focuses on Stripe's React Native SDK because it supports PaymentSheet
and platform wallets through the same production payment flow.
There is no doubt that there are piles of money to be made in iOS app development. After all, Apple owned 15.2 percent of the global smartphone market last year. However, the worldwide popularity of the iPhone does not mean that an iOS app developer can simply do whatever he or she wants when creating iOS apps. iOS app developers must know these three pitfalls to avoid when trying to make money through iOS app development.
React Native payment integrations have changed a lot since early checkout
packages wrapped a few native payment APIs. For production apps today, Stripe's
React Native SDK and PaymentSheet are the safer default for card payments,
Apple Pay, Google Pay, saved payment methods, and multi-method checkout.
The mobile app should never own payment secrets. It presents checkout, receives
client-safe values, and shows status. A secure backend creates PaymentIntents,
validates amounts, handles webhooks, and finalizes orders.
One of the most important aspects of designing a mobile app consists of colors. We’re introducing a Color Framework – Chameleon, which can be used by mobile developers to create iOS apps. It provides support for amazing flat colors, color gradients, complementary colors, colors from images, hex codes, and many other features. The framework can be used in both Swift and Objective-C and it’s open-source on Github.
As mobile app development becomes more dominant in the tech world, we can observe several design patterns emerging across the entire mobile app design ecosystem. One of these design subsystems is the skeleton views.
Many of our fully-coded iPhone app templates consist of a drawer menu navigation. This type of navigation usually is triggered by tapping on a menu button on the top left corner of the screen. Once clicked, the menu gets extended from the left side and takes over two-thirds of the screen. Here, the users can choose whatever option they want to navigate to. This type of app navigation is more popular in Android apps, but it gained some ground in the iOS realm as well, especially since concepts like Material design came out. People might also refer to this as hamburger menu navigation.
There are many use cases where you want your app to display collections of UI elements with flexible cell sizes, that render compactly on the screen, taking up as much space as possible. Unfortunately, achieving this in Swift is not straightforward and having collection views dealing with cells of different heights and widths can be tricky. In this tutorial, you'll be able to learn how you can create the layout pictured below (which is a shot of our WordPress iPhone App Template):
Practical product notes
Get the next useful guide
Occasional tutorials, product resources, and lessons from building and launching software.