Distributing Mobile Apps to Testers With Firebase App Distribution
Firebase App Distribution is a practical way to get prerelease Android and iOS builds into the hands of QA teams, clients, stakeholders, and beta testers before an App Store or Google Play production rollout.
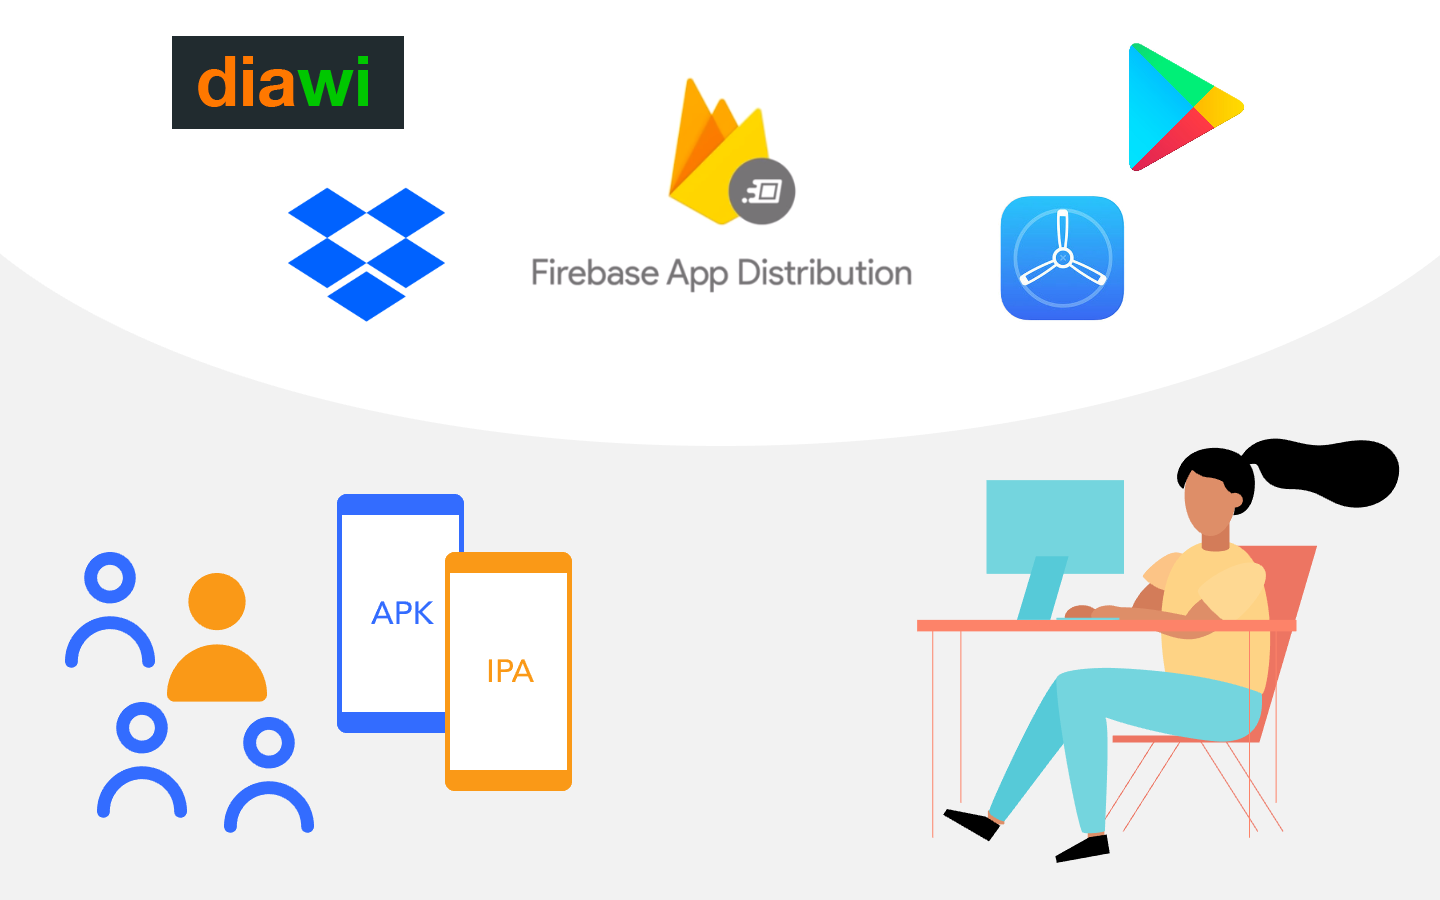
For React Native teams, the value is simple: one place to upload signed builds, organize testers, send invitations, collect feedback, and connect stability signals through Crashlytics. It does not replace App Store Connect, TestFlight, Google Play testing tracks, or a real production release checklist, but it can make day-to-day QA distribution much cleaner.
Quick Answer
Use Firebase App Distribution when you need to share prerelease builds with known testers before store submission or while a store build is being prepared. The modern flow is:
- Create or select a Firebase project.
- Register the Android and iOS apps with the same package name and bundle ID used by your release builds.
- Build a signed Android APK/AAB or iOS IPA.
- Upload the build from Firebase console, Firebase CLI, Gradle, fastlane, or CI.
- Add testers or tester groups.
- Include clear release notes.
- Monitor tester adoption, feedback, and Crashlytics stability.
- Promote only validated builds toward TestFlight, Google Play tracks, or production.
For final app store publishing, use the React Native App Release Checklist.
When Firebase App Distribution Fits
Firebase App Distribution is strongest when your team needs controlled prerelease access without turning every QA build into a public store release.
Use it for:
- internal QA builds;
- client acceptance builds;
- stakeholder demos;
- regression testing before App Store or Google Play submission;
- Android builds that are not ready for a Play Console testing track;
- iOS ad hoc builds for named devices;
- CI-generated builds with release notes and tester groups.
Use TestFlight or Google Play testing tracks when:
- you need store-native beta distribution;
- you are validating App Store Connect or Play Console metadata;
- external iOS testers need the standard TestFlight experience;
- you are preparing a release candidate very close to production.
Use production store rollout only after the release build, privacy forms, backend config, signing, and real-device tests are ready.
Android vs iOS Distribution
Android and iOS still have different signing rules, even when Firebase provides one distribution dashboard.
| Platform | Build artifact | Signing requirement | Main caveat |
|---|---|---|---|
| Android | APK or AAB | Release signing for realistic QA | AAB testing may involve Google Play internal app sharing integration. |
| iOS | IPA | Ad hoc, development, enterprise, or App Store/TestFlight signing depending on the flow | Ad hoc builds require registered test devices. |
For Android, sharing an APK directly can be convenient for quick internal QA, but release candidates should be tested as close as possible to the build type you will submit to Google Play.
For iOS, a random IPA cannot be installed on any device. The provisioning profile controls which devices can run the build unless you use TestFlight or an enterprise distribution program.
Prepare the React Native App First
Before distributing a build, confirm the app is not still using demo identity or development-only backend settings.
From the app folder:
corepack enable
corepack yarn install --immutable
corepack yarn typecheck
corepack yarn react-native config
Then verify:
- Android package name and iOS bundle identifier are final for this test cycle;
google-services.jsonandGoogleService-Info.plistpoint to the right Firebase project;- Firebase Auth providers are enabled;
- Firestore and Storage rules match the test environment;
- Functions secrets are configured if the app uses backend functions;
- push notifications are tested on real devices if the app uses them;
- payment features are either test-mode only or disabled for QA builds;
- release notes explain what testers should validate.
See Configure a Firebase Project and Link Firebase to Your Mobile App for the Firebase setup path.
Set Up Firebase App Distribution
In Firebase console:
- Open your Firebase project.
- Add the Android app using the exact package name from the release build.
- Add the iOS app using the exact bundle identifier.
- Open App Distribution.
- Create tester groups such as
qa,client-review,founders, orregression. - Add testers by email.
- Upload the first build with release notes.
Keep tester groups narrow. A "send to everyone" group usually becomes noisy and dangerous after a few release cycles.
Distribute With Firebase CLI
Install Firebase CLI if it is not already available:
npm install -g firebase-tools
firebase login
Build Android:
cd android
./gradlew bundleRelease
Distribute the Android App Bundle:
firebase appdistribution:distribute \
  android/app/build/outputs/bundle/release/app-release.aab \
  --app "$FIREBASE_ANDROID_APP_ID" \
  --groups "qa,client-review" \
  --release-notes-file release-notes.txt
For iOS, distribute the signed IPA:
firebase appdistribution:distribute \
  build/MyApp.ipa \
  --app "$FIREBASE_IOS_APP_ID" \
  --groups "qa,client-review" \
  --release-notes-file release-notes.txt
Use environment variables or CI secrets for Firebase app IDs. Do not hardcode private service account keys or signing secrets in the repository.
Distribute With fastlane
fastlane is useful when build, signing, and upload steps already live in lanes.
Android example:
lane :qa_android do
  gradle(task: "bundle", build_type: "Release")

  firebase_app_distribution(
    app: ENV["FIREBASE_ANDROID_APP_ID"],
    android_artifact_type: "AAB",
    android_artifact_path: "android/app/build/outputs/bundle/release/app-release.aab",
    groups: "qa,client-review",
    release_notes_file: "release-notes.txt"
  )
end
iOS example:
lane :qa_ios do
  build_app(
    scheme: "MyApp",
    export_method: "ad-hoc",
    output_directory: "build",
    output_name: "MyApp.ipa"
  )

  firebase_app_distribution(
    app: ENV["FIREBASE_IOS_APP_ID"],
    ipa_path: "build/MyApp.ipa",
    groups: "qa,client-review",
    release_notes_file: "release-notes.txt"
  )
end
The exact lane should match your signing strategy. If you use App Store Connect signing or EAS Build for production, keep QA distribution documented separately so a tester build cannot accidentally become a production submission.
Add App Distribution to CI
In CI, App Distribution should happen after the project passes basic quality gates.
A practical order:
- install dependencies with the locked package manager;
- run typecheck and tests;
- build Android and/or iOS artifacts;
- upload the build to App Distribution;
- notify testers with release notes;
- archive the artifact and build logs.
For current Instamobile apps using Yarn through Corepack, CI install commands should look like:
corepack enable
corepack yarn install --immutable
corepack yarn typecheck
If your app uses Expo/EAS, you can also keep build automation in EAS and reserve Firebase App Distribution for selected QA flows. The important part is to avoid duplicated release paths that produce different artifacts from the same commit.
What to Put in Release Notes
Tester release notes should be specific enough to guide QA.
Good release notes:
Build 42

Focus areas:
- Sign in with email and Google
- Upload one profile image
- Send and receive a chat message
- Confirm push notification opens the conversation

Known issues:
- Dark mode is not final
- Stripe is in test mode
Weak release notes:
Bug fixes and improvements
Every prerelease build should tell testers what changed, what to test, and what is intentionally unfinished.
Firebase App Distribution vs TestFlight vs Google Play Tracks
| Tool | Best for | Tradeoff |
|---|---|---|
| Firebase App Distribution | Cross-platform QA and client builds from one Firebase project | iOS still depends on valid signing and device eligibility. |
| TestFlight | Apple-native beta testing and external iOS testers | External testing may require Beta App Review. |
| Google Play internal/closed testing | Store-native Android testing before production | Requires Play Console setup and app content readiness. |
| Direct APK sharing | Very fast Android-only internal smoke tests | Weak access control and not representative of Play delivery. |
Most serious teams use more than one of these. A common pattern is Firebase App Distribution for frequent QA builds, then TestFlight and Google Play tracks for release candidates.
QA Checklist Before Promoting a Build
Before a Firebase-distributed build moves toward store review:
- install it on at least one real Android device and one real iOS device;
- verify cold start and login;
- test permissions exactly as a new user sees them;
- test media upload if included;
- test push notifications if included;
- test payments only with test credentials;
- verify the app points to the intended Firebase project;
- check Crashlytics after a testing session;
- confirm release notes match the build;
- confirm no demo accounts or demo content remain unless intentionally included.
For app store submission, continue with:
Useful Links
- Firebase App Distribution documentation
- Firebase App Distribution with fastlane for Android
- Apple TestFlight
- Google Play: Create and set up your app
- Current React Native Stack
FAQ
Does Firebase App Distribution replace TestFlight?
No. Firebase App Distribution is useful for prerelease QA, but TestFlight is the Apple-native beta path and is still important for external iOS beta testing and App Store Connect release candidates.
Can Firebase App Distribution distribute Android App Bundles?
Yes. Firebase App Distribution supports Android artifacts including APK and AAB, and it can integrate with Google Play internal app sharing for app bundle-based testing.
Do testers need the Firebase SDK in the app?
No SDK is required for basic build distribution. Adding Firebase products such as Crashlytics can improve prerelease stability monitoring.
Should client builds use production Firebase data?
Usually no. Use a staging Firebase project or a controlled production-like environment unless the client is explicitly doing final production acceptance.
Conclusion
Firebase App Distribution is a strong QA distribution layer for React Native teams, especially when Android and iOS builds need to reach the same testers quickly. Keep it disciplined: build from a clean commit, sign correctly, write clear release notes, use tester groups, monitor stability, and promote only validated builds toward TestFlight, Google Play, and production release.