AsyncStorage in React Native: Persisting App State Safely
At Instamobile, our React Native templates persist user sessions and preferences through a secure auth flow plus lightweight local storage. This tutorial uses AsyncStorage for non-sensitive persistence and calls out where secure storage is required for production apps.

Safety First
AsyncStorage is useful for lightweight, non-sensitive app state: onboarding flags, theme preference, cached filters, draft form values, and small pieces of offline UI state. It is not a secure place for passwords, private keys, payment data, or long-lived auth secrets.
The official Async Storage docs describe it as persistent key-value storage for React Native, and Expo documents SecureStore as encrypted local storage for sensitive key-value pairs. In practice, use AsyncStorage for convenience state and use Keychain, Keystore, SecureStore, or your auth provider's secure session flow for credentials.
If you use one of the Instamobile React Native templates, keep the same principle: UI preferences can live locally, while authentication and authorization should be handled through a secure provider and backend rules.
What Belongs in AsyncStorage
- Theme, language, and onboarding flags.
- Last selected tab, filters, or sort order.
- Non-sensitive draft content that improves UX.
- Small offline cache metadata.
- Feature flags that are safe to expose on the device.
Do not store raw passwords or secrets. If a value would create account takeover risk, it does not belong in AsyncStorage.
React Native apps often need to remember lightweight state between launches: onboarding completion, theme preference, filters, draft values, and cached UI hints. AsyncStorage is useful for those cases, but it should not be used as a password vault or a place for sensitive credentials.
What is AsyncStorage in React Native?
AsyncStorage is a local key-value store, taking space on the device.
AsyncStorage is a key-value, asynchronous, simple, persistent, unencrypted, storage system that is global to the app. It is used as a LocalStorage in Apps similar to localstorage in browser. It is very useful for the variables you want to use globally in the app.
React Native AsyncStorage Example
In this tutorial, we are going to use AsyncStorage to implement persistent login in a React Native app, which is backed by Firebase Auth.
Let's start a new project with React native CLI:
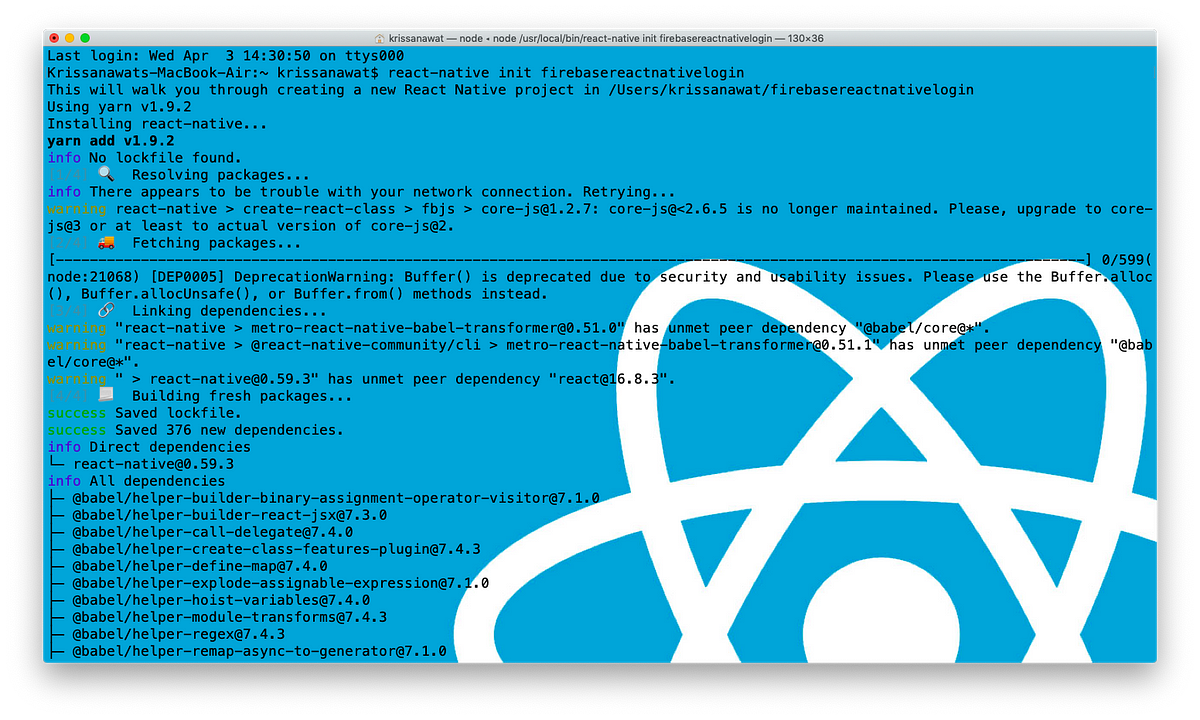
Open the terminal in VScode or a command line and run:
expo init react-native-auth
Now that we initialized the React Native project, let's run it on iOS by executing:
react-native run-ios
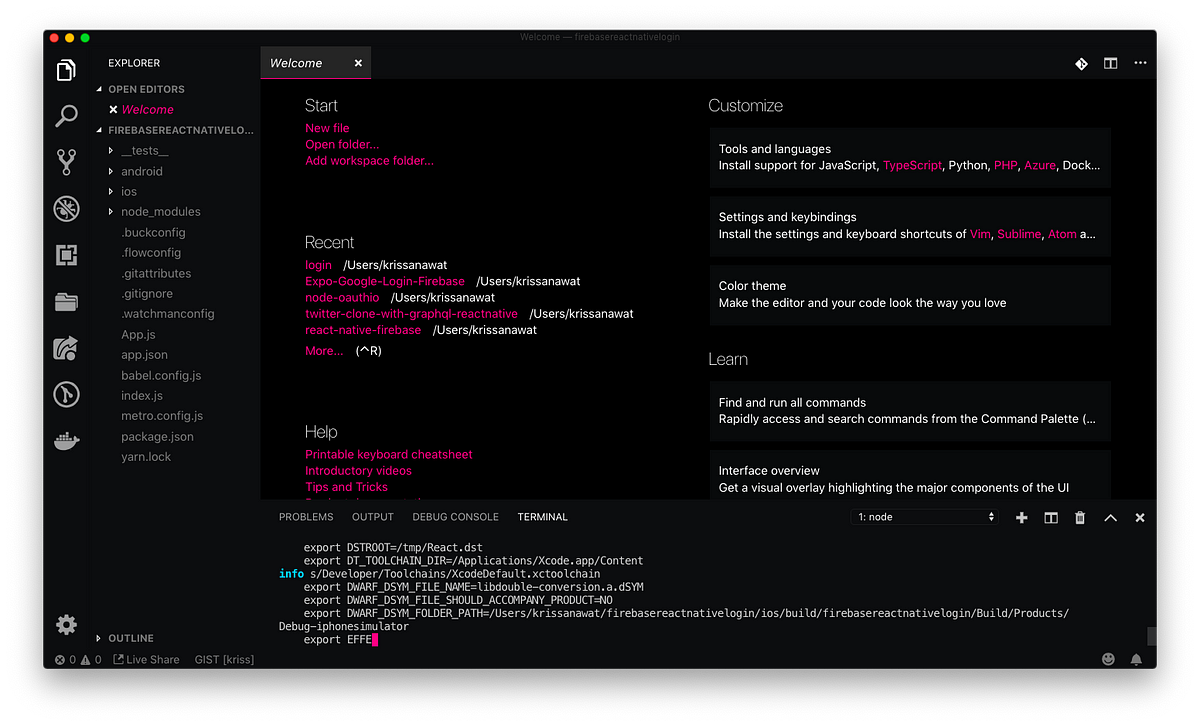
The React native CLI will open a new terminal as shown below. This is the metro bundler, which loads the JavaScript code into the native runtime. Obviously, you don't need to worry about it, since this is out of scope for this AsyncStorage tutorial.
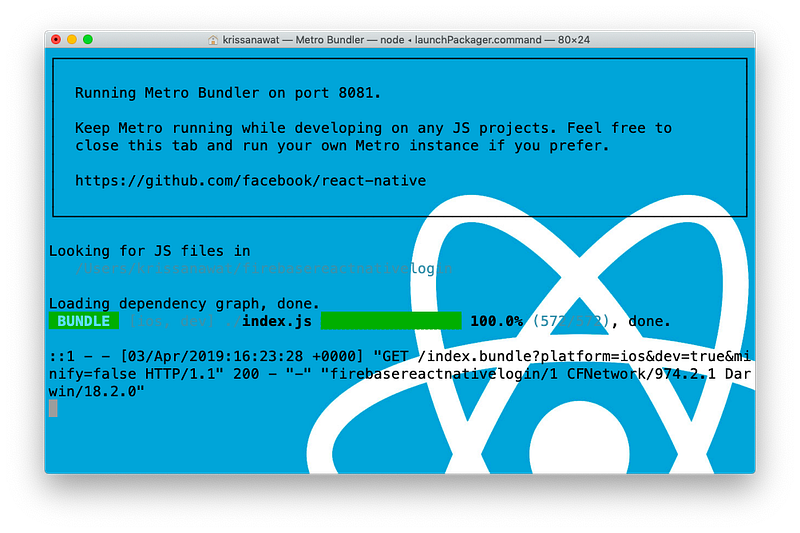
Now that everything is up and running, let's start coding. Feel free to run the app on Android as well, it doesn't matter for the purposes of this tutorial.
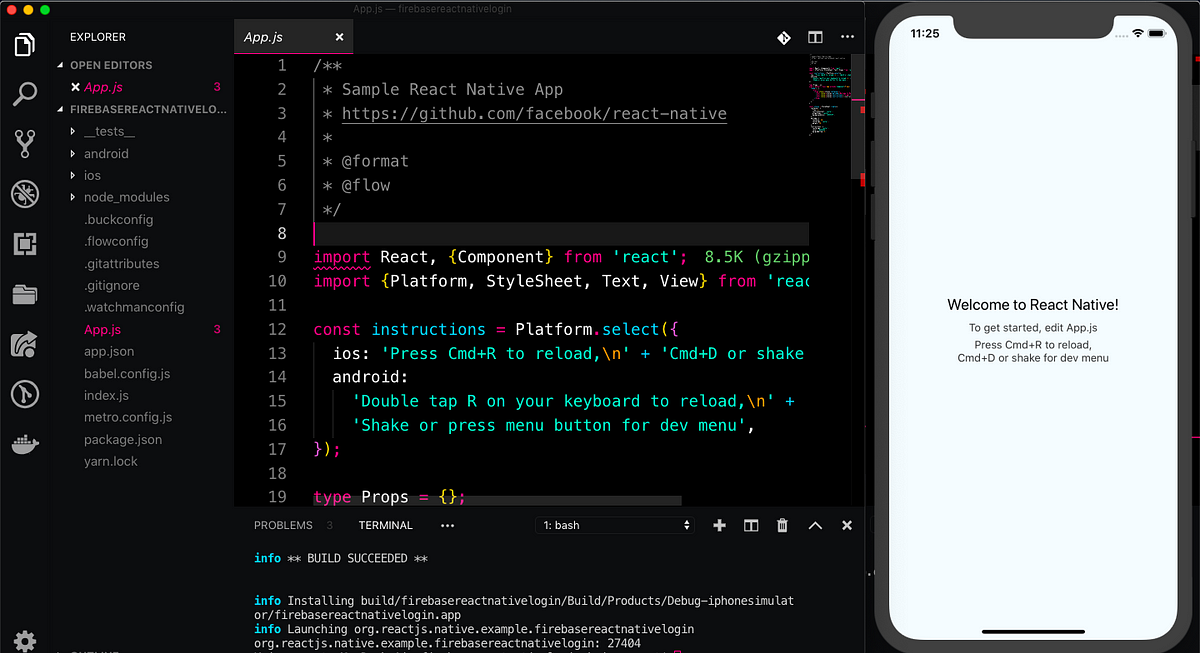
Building a User Interface Quickly
To develop our user interface quickly, we are using the built-in component for development for the form interface. Let's construct a user interface for the frontend form:
import { Platform, StyleSheet, Text, TextInput, TouchableOpacity, View} from "react-native";

render() {
  return(
    <View style={styles.container}>
      <TextInput
        style={styles.input}
        underlineColorAndroid="transparent"
        placeholder="Email"
        placeholderTextColor="black"
        autoCapitalize="none"
      />
      <TextInput
        style={styles.input}
        underlineColorAndroid="transparent"
        placeholder="Password"
        placeholderTextColor="black"
        autoCapitalize="none"
        secureTextEntry={true}
      />
      <TouchableOpacity
        style={styles.submitButton}
        onPress={() => this.login(this.state.email, this.state.password)}
      >
        <Text style={styles.submitButtonText}>Submit</Text>
      </TouchableOpacity>
    </View>
  );
}
Let's apply some styling to make everything centered and good looking:
const styles = StyleSheet.create({
  container: {
    flex: 2,
    justifyContent: "center",
    backgroundColor: "#F5FCFF",
  },
  input: {
    margin: 15,
    height: 40,
    borderColor: "black",
    borderWidth: 1,
  },
  submitButton: {
    backgroundColor: "black",
    padding: 10,
    margin: 15,
    alignItems: "center",
    height: 40,
  },
  submitButtonText: {
    color: "white",
  },
});
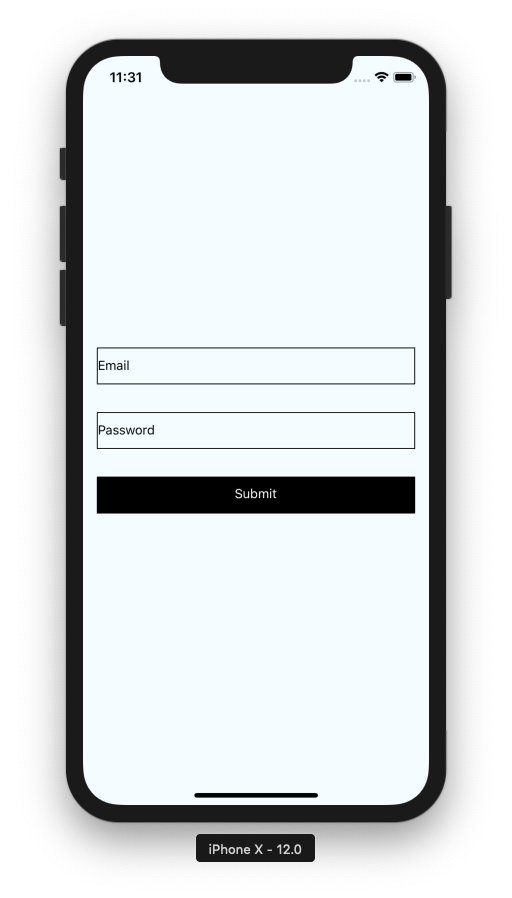
Save the project and reload the app in the simulator, by pressing Command + R for hot reloading. You should see the following basic user interface.
Storing Data into State
Let's create a state variable to handle the form submission:
constructor(props) {
  super(props);
  this.state = {
    email: "",
    password: ""
  };
}

handleEmail = text => {
  this.setState({ email: text });
};

handlePassword = text => {
  this.setState({ password: text });
};
Next, get the input value and store it on the state variable with an onChangeText event. This basically calls the two methods defined above right when the users change the text on the text inputs:
<TextInput
  style={styles.input}
  underlineColorAndroid="transparent"
  placeholder="Email"
  placeholderTextColor="black"
  autoCapitalize="none"
  onChangeText={this.handleEmail}
/>

<TextInput
  style={styles.input}
  underlineColorAndroid="transparent"
  placeholder="Password"
  placeholderTextColor="black"
  autoCapitalize="none"
  secureTextEntry={true}
  onChangeText={this.handlePassword}
/>
Now, let's create a SignIn function that lets users sign in our app with Firebase: Firstly, import firebase package and add the configuration parameters:
import * as firebase from "firebase";

var config = {
  apiKey: "*****************************",
  authDomain: "fblogin-with-react-native.firebaseapp.com",
  databaseURL: "https://fblogin-with-react-native.firebaseio.com",
  projectId: "fblogin-with-react-native",
  storageBucket: "fblogin-with-react-native.appspot.com",
  messagingSenderId: "************",
};

firebase.initializeApp(config);
Next, create a login function and grab the snippet code from Firebase Docs:
login = (email, pass) => {
  firebase
    .auth()
    .signInWithEmailAndPassword(email, pass)
    .then((res) => {
      alert(res.user.email);
    })
    .catch((error) => {
      // Handle Errors here.
      console.log(error.message);
    });
};
Now we need to trigger this login method when the Sign In button gets tapped:
<TouchableOpacity
  style={styles.submitButton}
  onPress={() => this.login(this.state.email, this.state.password)}
>
  <Text style={styles.submitButtonText}>Submit</Text>
</TouchableOpacity>
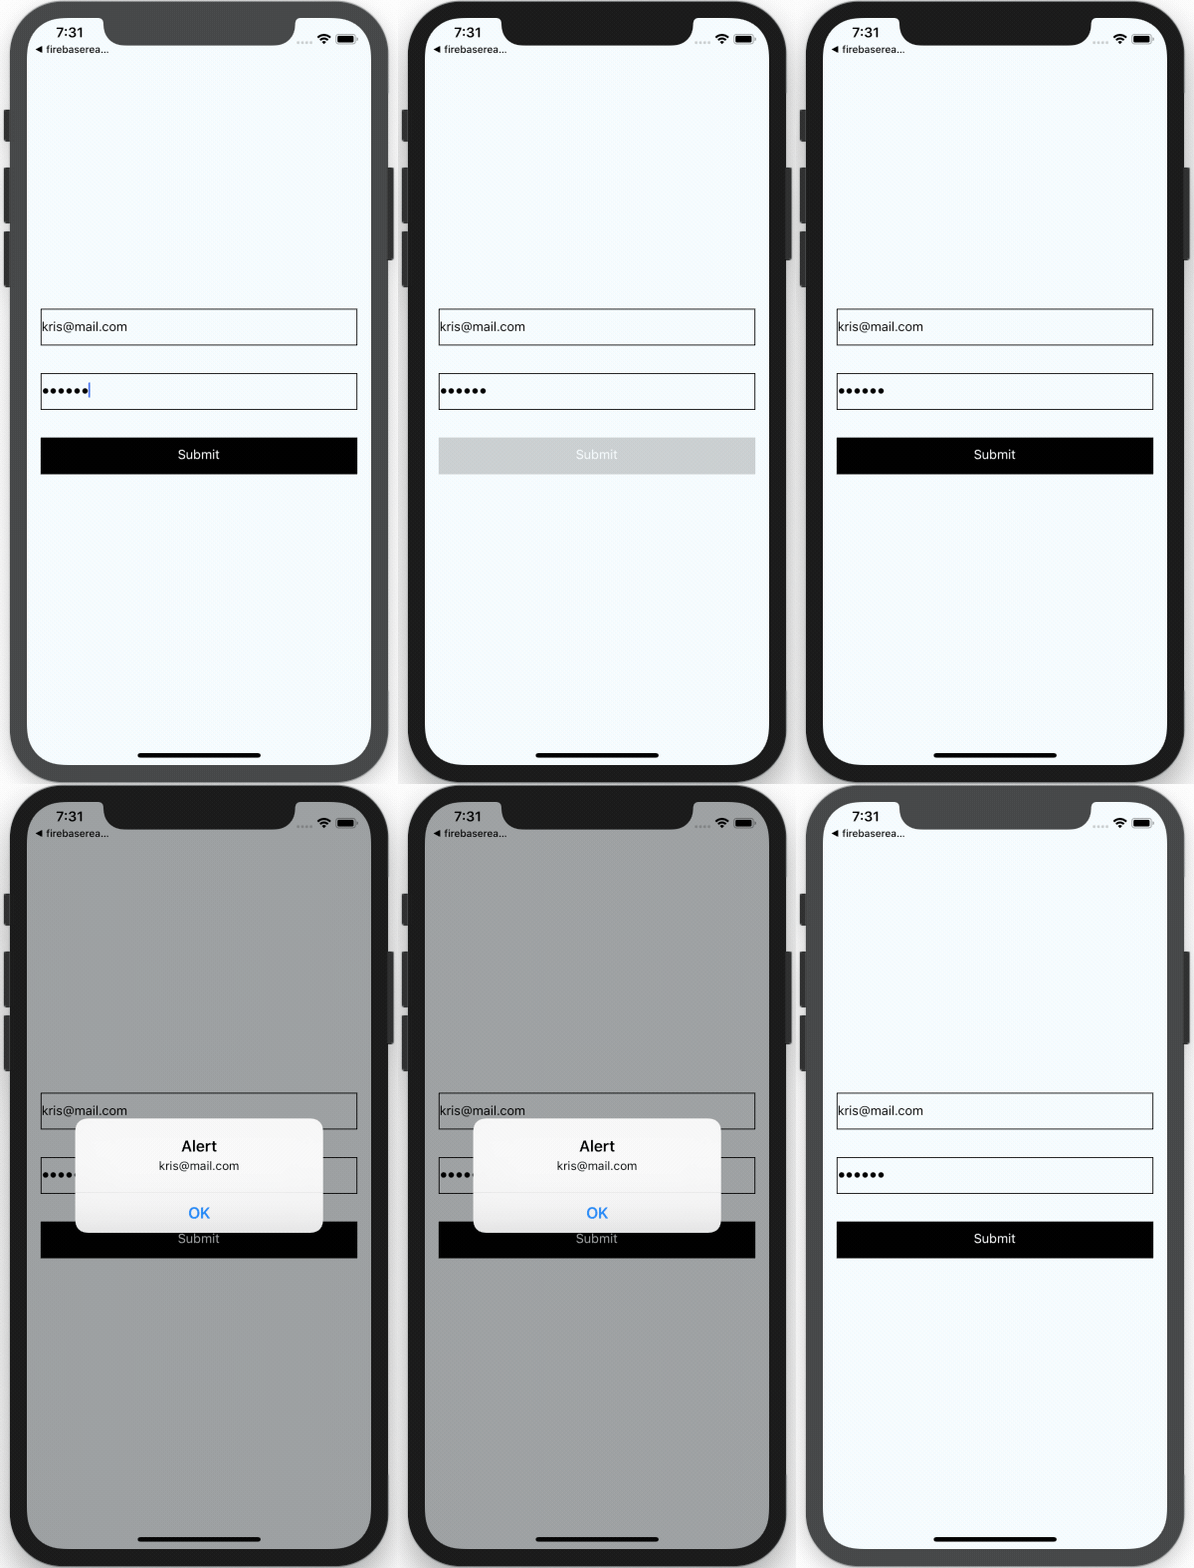
Let's run the React Native app again. Now you can see the generated token with an alert that pops up on the screen. Sweet!
So now we got the user data from the Firebase server. Next, let's see how we store it as default state in AsyncStorage. This is basically where the magic starts to happen. We want users to be able to auto-login next time they open the app, since right now if you quit the app, you'll need to re-authenticate manually.
State variable vs AsyncStorage
The state variable only stores data in memory. This means meant that when the app stops, we lose it all. So, by simply using a state variable, you won't be able to implement persistent login in React Native.
We got data and we now expect to use it until it will expire on the server. First, we try to store the data in the state variable, for demonstration reasons:
constructor(props) {
  super(props);
  this.state = {
    email: "",
    password: "",
    userData: {}
  };
}
And store the Firebase Credential Token into the state object:
.then(res => {
  this.setState({ userData: JSON.stringify(res.user) });
  console.log(this.state.userData);
})
Let's try running the project again. You can see in the logs:
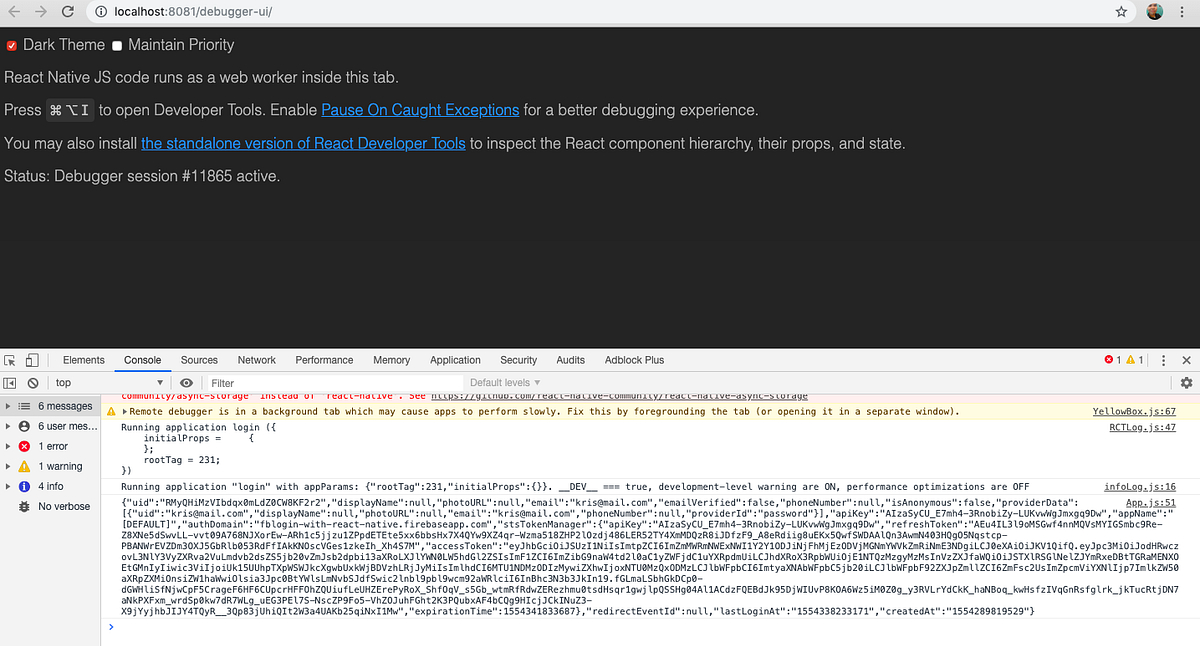
Now, the user data will be stored in the state. If we can use the state to store token for the next refresh, we can call it:
componentDidMount() {
  console.log(this.state.userData);
}
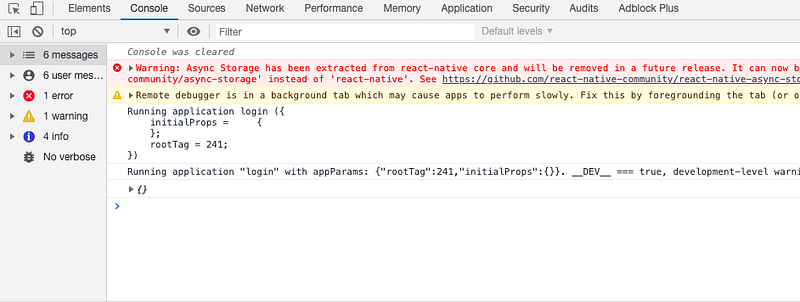
But when you refresh the app, then you can see an error in the terminal. The token is gone. As we expected.
So, we can't use the state to store the authentication token. This is where AsyncStorage comes onto the stage.
AsyncStorage Implementation
Let's import AsyncStorage in the React Native project:
import { StyleSheet, Text, AsyncStorage } from "react-native";
Then, let's create two functions, setToken and getToken, for storing and retrieving the persistent data. These are the main methods of this tutorial. Here, we are storing and retrieving the user data from/to AsyncStorage:
async storeToken(user) {
  try {
    await AsyncStorage.setItem("userData", JSON.stringify(user));
  } catch (error) {
    console.log("Something went wrong", error);
  }
}

async getToken(user) {
  try {
    let userData = await AsyncStorage.getItem("userData");
    let data = JSON.parse(userData);
    console.log(data);
  } catch (error) {
    console.log("Something went wrong", error);
  }
}
Then replace the handling code, that manages the response token from the server:
.then(res => {
  this.storeToken(JSON.stringify(res.user));
})
Since we expect that after refresh, the token will still live on storage, we can do:
componentDidMount() {
  this.getToken();
}
Let's prove it. Look at it, as shown in the picture below. The token is there after you quit & reopen the app. Try it out yourself.Now, our app automatically logs you in after each session.
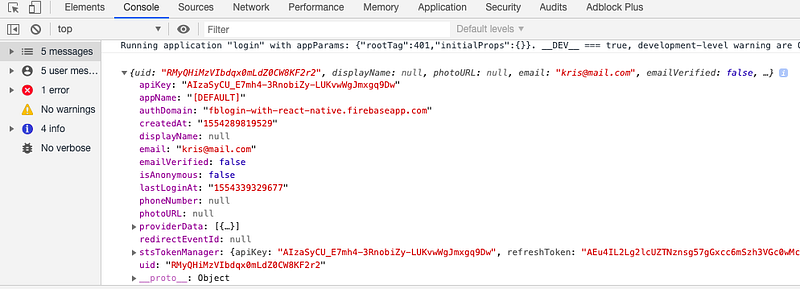
Great job, you've just created your first AsyncStorage example. Pretty neat, right?
Conclusion
So finally, in this tutorial, we discussed what AsyncStorage is, how AsyncStorage works and we built a React Native AsyncStorage example, by persisting the login credentials to implement an auto-login feature for a mobile app backed by Firebase backend.
If you found this React Native tutorial helpful, please share it with others. You can also check out the official documentation on AsyncStorage for more details. Happy Coding!