Device to Device Push Notifications in Swift with Firebase
· 2 min read
Device-to-device notifications are useful when one user's action should notify another user. Common examples include:
Build, launch, and keep improving
Practical guides for building, customizing, launching, and growing software products.
Device-to-device notifications are useful when one user's action should notify another user. Common examples include:

React Native tooling has changed. Older lists often recommended Flipper, Nuclide, standalone React Native Debugger, or remote Chrome debugging as the default workflow. Modern React Native apps should start with React Native DevTools, Metro, and the native tools that ship with Xcode and Android Studio.
Offline-first React Native apps need deliberate data design. Lightweight preferences can use AsyncStorage, but serious offline workflows need structured local data, queued writes, sync conflict handling, retries, and visible user states.
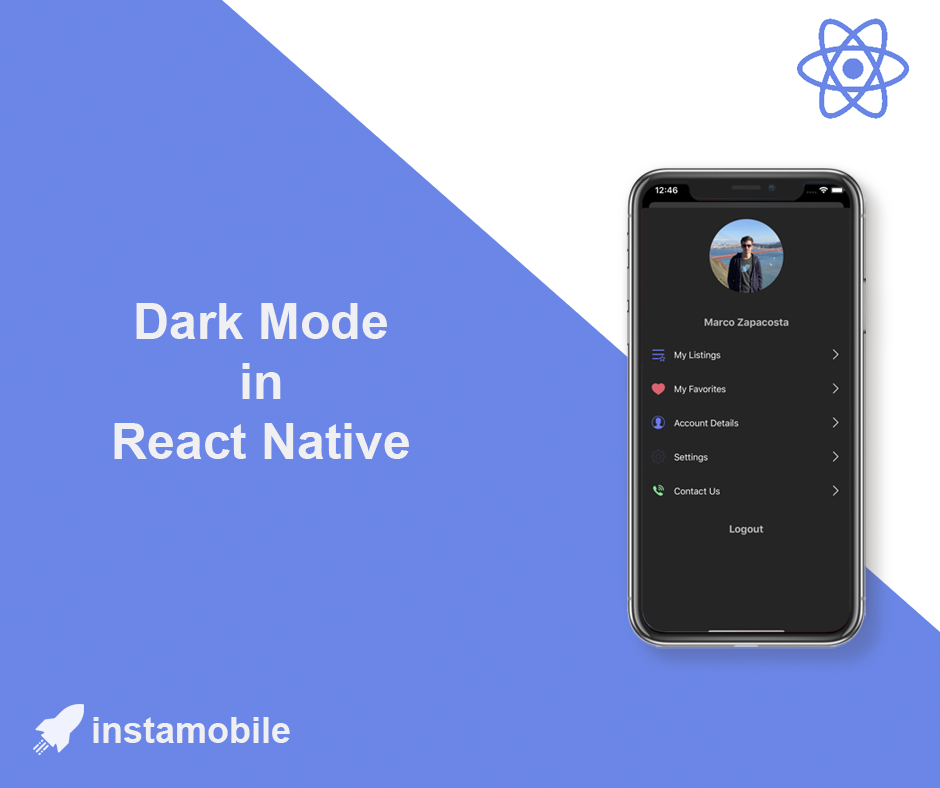
Dark mode in React Native should start with system appearance APIs and a real theme model. This guide now focuses on useColorScheme, Appearance, app-level overrides, design tokens, and production checks across native and JavaScript surfaces.
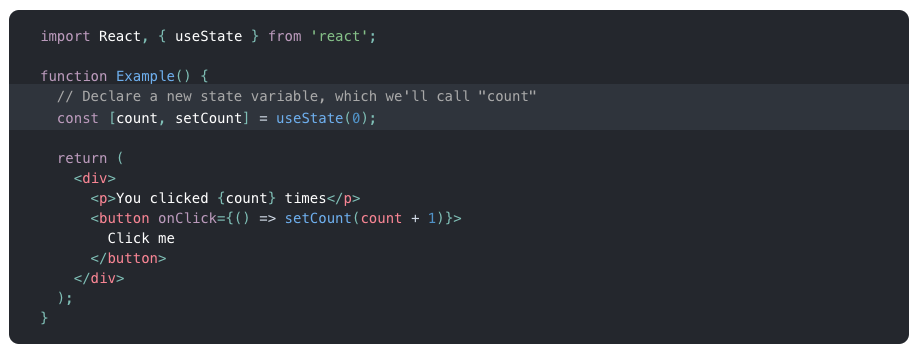
In this tutorial, we are going to give a quick introduction to React Native hooks. Hooks in React are available since the version 16.7.0-alpha. These functions allow us to use React state and a component’s lifecycle methods in a functional component. If you are familiar with React, you know that the functional component has been called as a functional stateless component. Not any more.
The app icon is one of the first production assets you should replace before submitting a React Native app to the Apple App Store or Google Play. It appears on the home screen, app stores, settings screens, notifications, search, and device launchers.
This guide explains how to replace icons in a React Native app with native iOS and Android projects.
Perceived performance is how fast an app feels to the user. A screen can take the same amount of time to load, but feel much faster when it shows immediate feedback, preserves user work, avoids blank states, and explains what is happening.
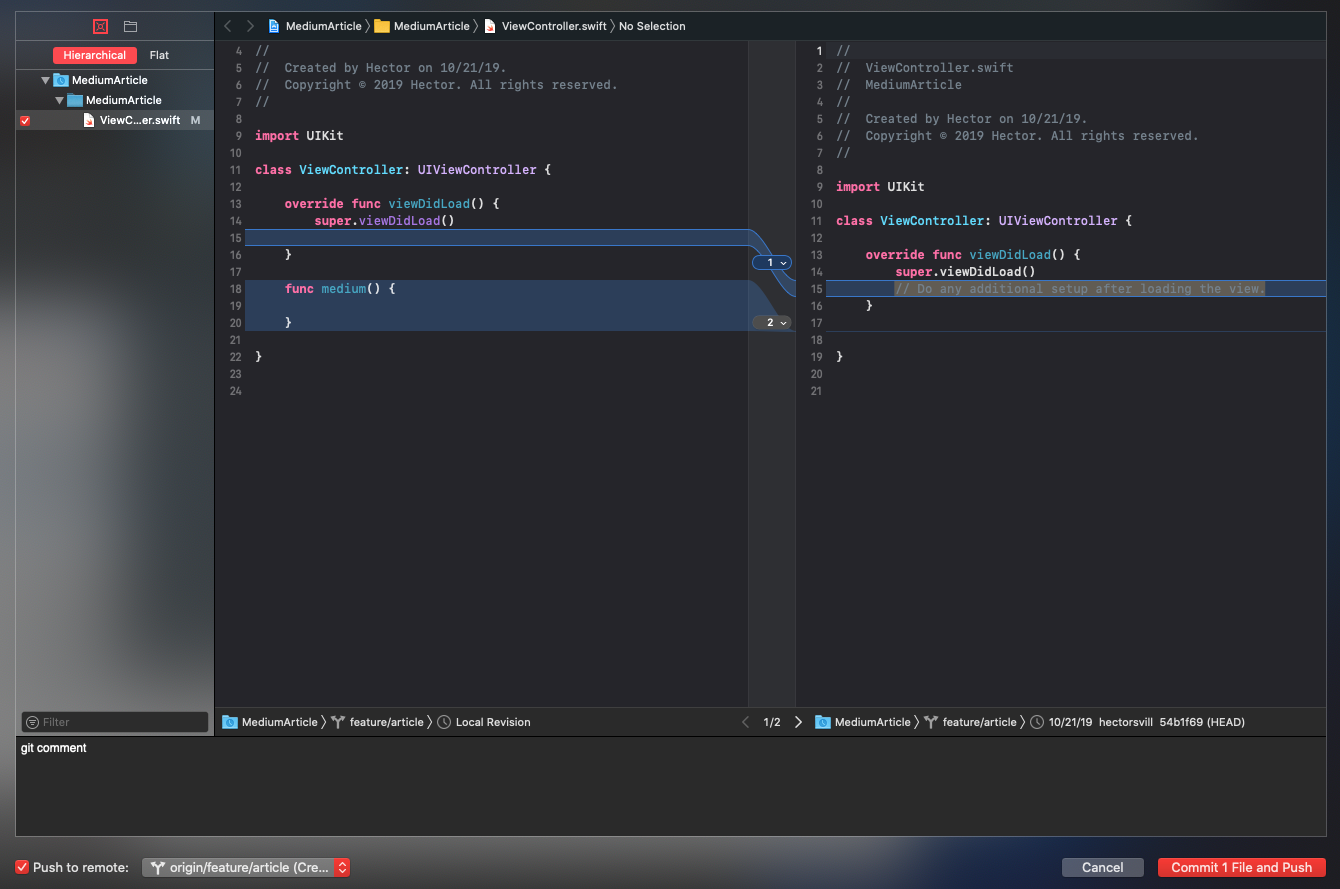
As an iOS developer spending most of my time in Xcode, I realized how unproductive I was due to constantly switching back and forth between Xcode, Terminal, Github, and Source Tree. As a result, I decided to dive into Xcode Git integration with Github. Let’s take a look at the Github integrated features and how they can help you become a better and more productive iOS developer.
Entrepreneurs, designers, and developers tend to separate Growth aspects from the mobile app development process. They are usually perceived as completely different focus areas. After all, what does marketing have to do with app development, right? Because of this, many startups fall into the trap of building onboarding screens that are so beautiful it blows the user’s mind, but they are not optimized for Growth, hence don’t convert well.

In this article, I would like to showcase the basics of iOS data persistence with Swift, by presenting a general overview of what’s possible. Data persistence is the mechanism of storing any type of data to disk so that the same data can be retrieved without being altered when the user opens the app next time. While you could save the same data on a server, in this tutorial we are going to describe all the ways to store data locally in iOS apps.

In this article we are going to learn how to implement the powerful MVVM design pattern in SwiftUI applications that are leveraging the Combine framework. The combination of these 3 concepts will be the standard of iOS app architecture for the years to come, so it’s really important to set up a solid groundwork when it comes to designing Swift apps going forward.
In this tutorial we will build a React Native app that allows users to upload images and videos from their camera and photo library directly into a AWS S3 bucket. As AWS is the leader of cloud providers, a huge part of the React Native ecosystem is using AWS as the backend for their app. With the release of AWS Amplify, using AWS as backend for a React Native app has never been easier to implement.
Practical product notes
Occasional tutorials, product resources, and lessons from building and launching software.