Restaurant App Template
In this tutorial we list the steps needed to make your own food ordering app with our Restaurant app template. No coding required. Follow the first two tutorials, then continue here to add your restaurant data.
Quick start
- Run the project in Xcode — /docs/swift/getting-started-with-swift/running-swift-apps-in-xcode
- Link your Firebase backend — /docs/swift/firebase-integration
3. Add your restaurant data (categories & menus)
3.2 Add your categories
Create a categories collection in Cloud Firestore with fields id, photo (URL) and name.
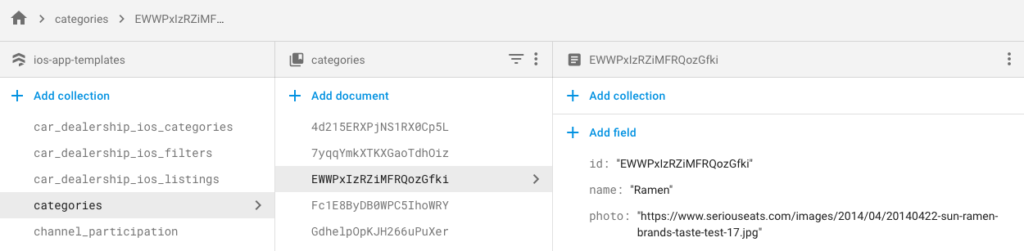
3.3 Add your food items
Create a restaurant_foods collection and add items with category, description, details (array of photo URLs), id, name, photo, and price.
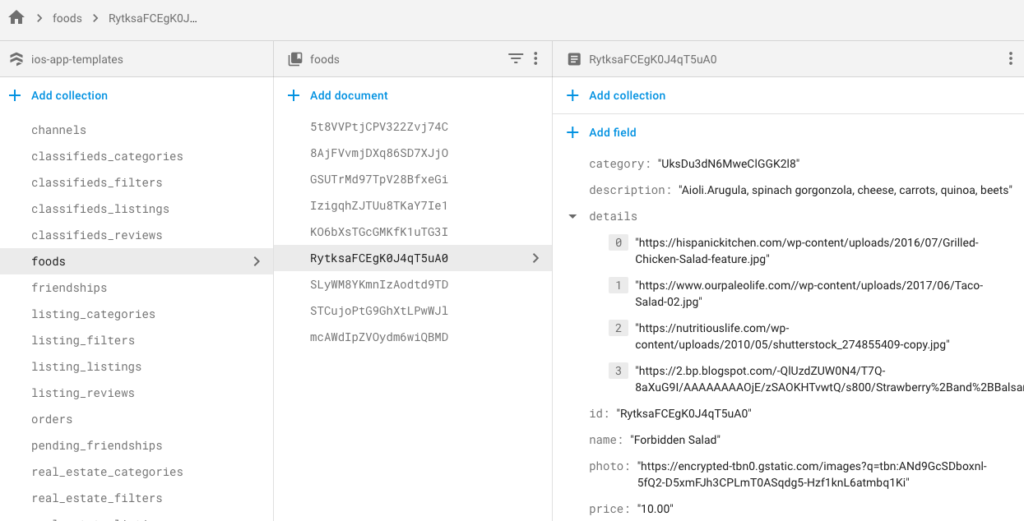
4. More Customizations
4.1 Customize onboarding
Edit RestaurantDataSourceProvider.swift to change walkthrough, login and registration screens.
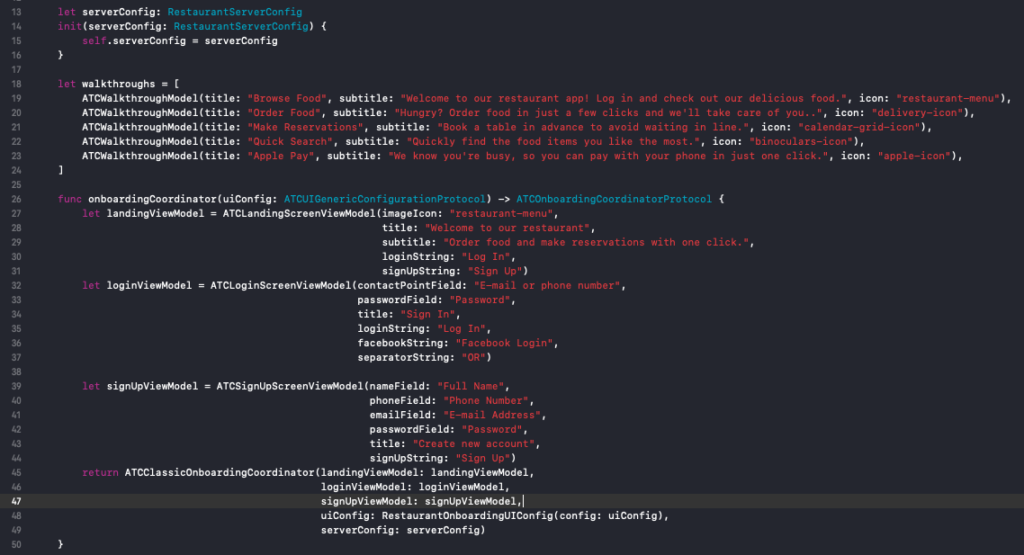
4.2 Use static mock data
Set isFirebaseAuthEnabled and isFirebaseDatabaseEnabled to false in RestaurantServerConfig.swift to use MockStore.swift.

4.3 Theming
Edit UIConfiguration.swift under Core -> E-commerce -> Themes -> Simplicity.
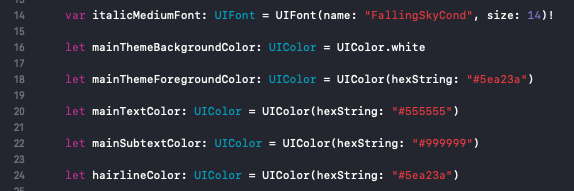
4.4 Payments and Stripe
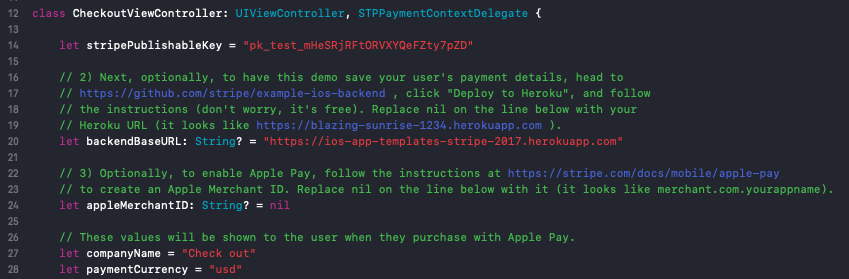
Toggle Stripe and Apple Pay in AppDelegate.swift. Update publishable key in CheckoutViewController.swift.
4.5 Admin Dashboard
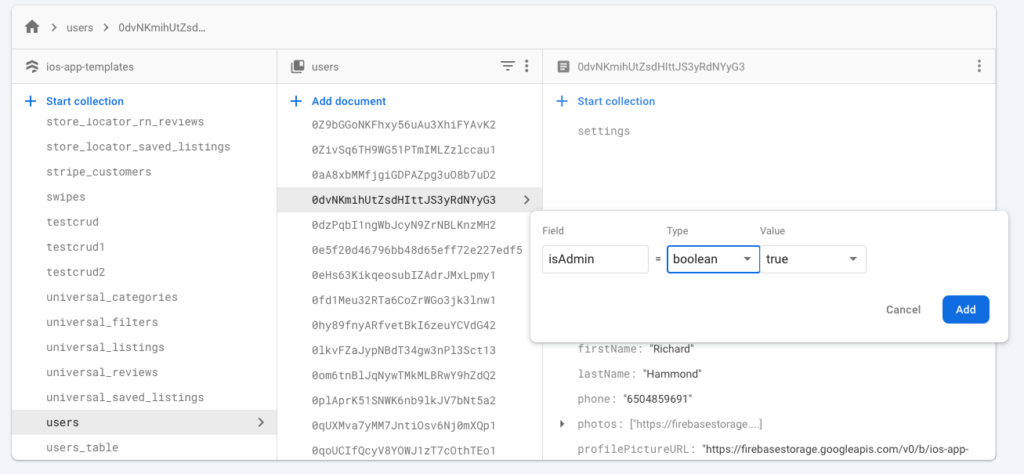
Mark a user admin by adding isAdmin: true in the users document in Firestore.
When ready, submit the app to the App Store from Xcode.